
The Nintendo Switch 2 is a massive hit, but its relatively small screen size is still limiting. Here’s how to use your iPad as an external display for better gaming.
Nintendo has reportedly sold more than five million units of its new portable gaming device. The new handheld has a new 7.9-inch display along with updated controllers, a better design and a much faster processor.
What’s always been great about the Switch is that, unlike other consoles that are dedicated handhelds or only work with a TV attached, it can do both. It can be used on the go or docked and used with the display.
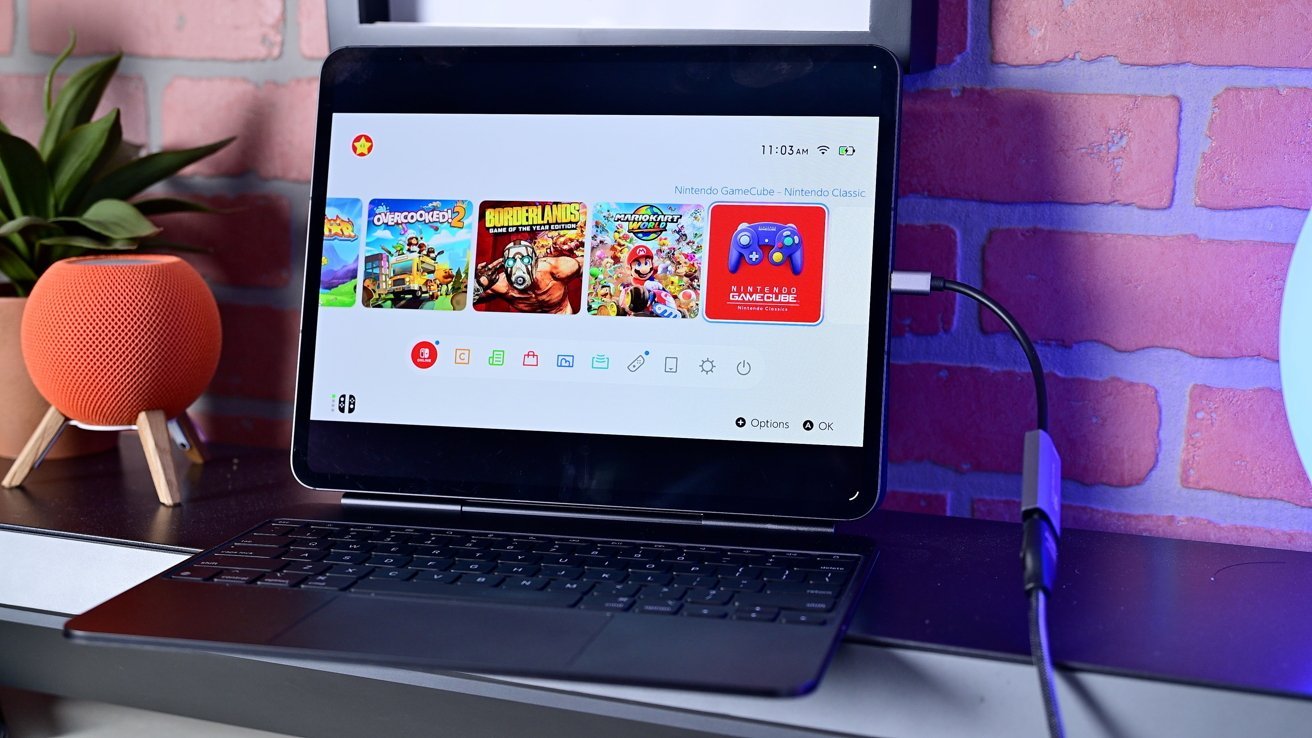
Thanks to a change in iPadOS 17, the iPad can be used as an external display for video inputs. We’ve tested it with game consoles, cameras, and yes—the Nintendo Switch 2.
Why use an iPad as a Switch 2 display?
Although the Switch 2 has a new, larger screen – both the iPad Air and iPad Pro offer larger 13-inch screens.
gaming Borderlands 2 using Switch 2 on iPad Pro
This is great if you’re single and want something a little more expansive. If you have friends with you, it’s perfect for split-screen titles like Borderlands 2 or new Mario Kart World.
Half or a quarter of each player’s screen has more usable space and makes it more playable. Since the Joy-cons are detachable, it’s a great setup.
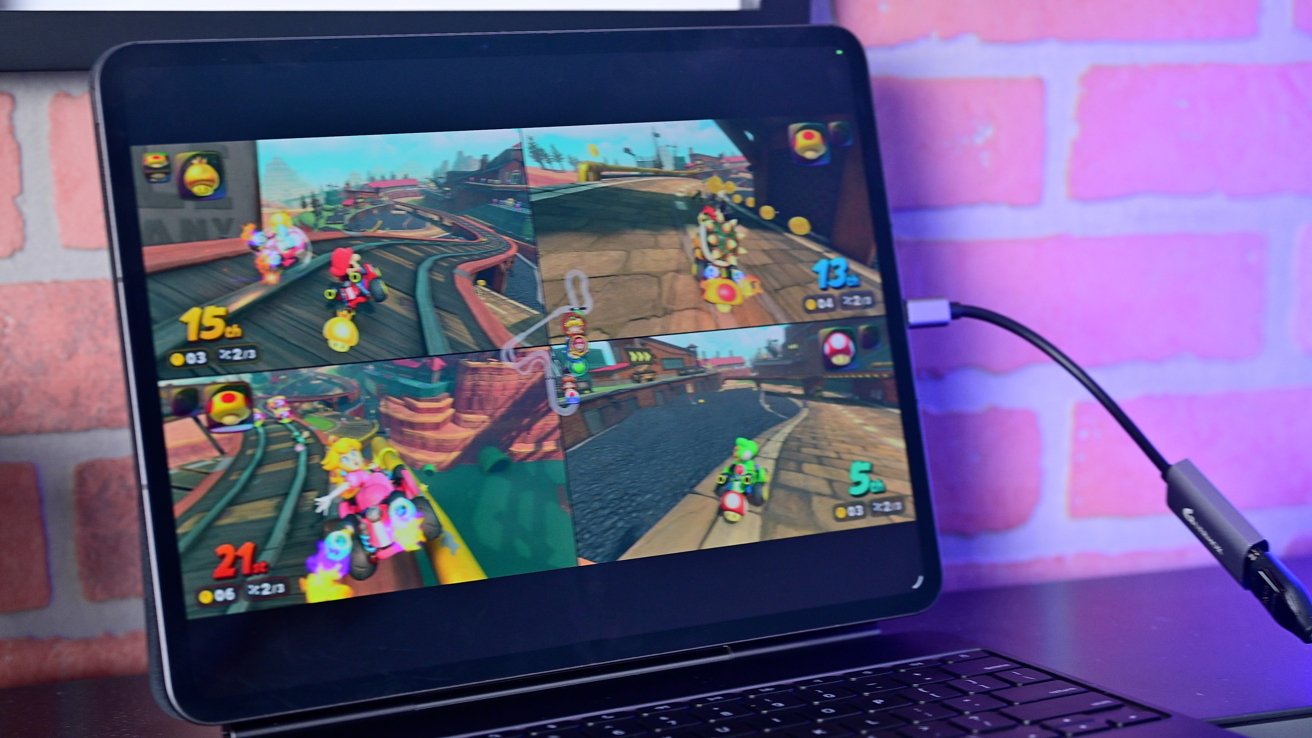
gaming Mario Kart World on an iPad Pro with a Nintendo Switch 2 attached
iPad screens also look beautiful. In particular, the iPad Pro with its Tandem OLED Ultra Retina XDR display simply stands out with vivid colors Mario Karteven more than a built-in switch.
While we’re looking specifically at iPad usage, the same assumption will work for other devices, including USB-C monitors, other tablets, and even USB-C-equipped iPhones.
We recently reviewed the Espresso Display Pro 15-inch, which would be another great solution for a portable screen that would work with the Switch 2.
What you need to use your iPad as a Switch 2 display
Your average user might think it should be as simple as plugging a USB-C to USB-C cable into both devices and expecting everything to work. As we saw with the original Switch, this is not the case.
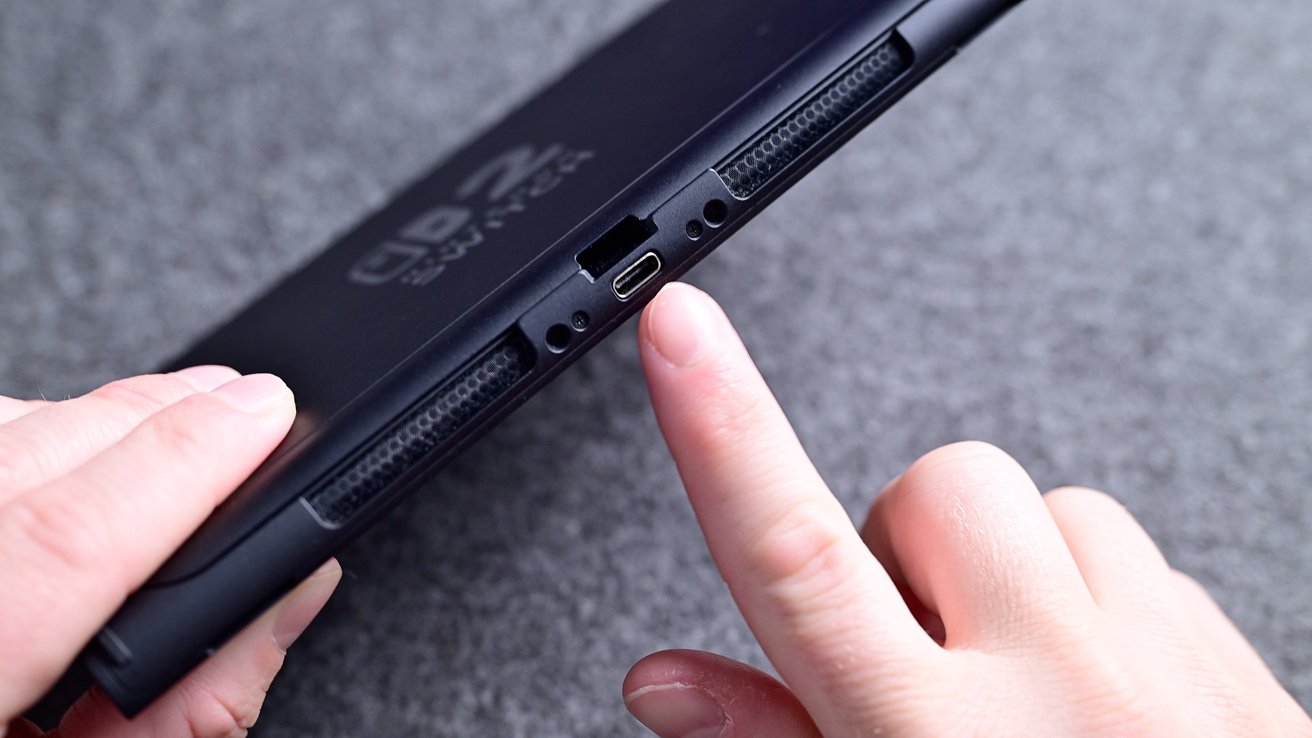
The Switch 2 has two USB-C ports
There are several ways to set this up, depending on what you want to spend and how portable you want the setup to be. Let’s go through them.
Option 1: The cheapest option is to use a simple HDMI to USB-C adapter in conjunction with the included dock.
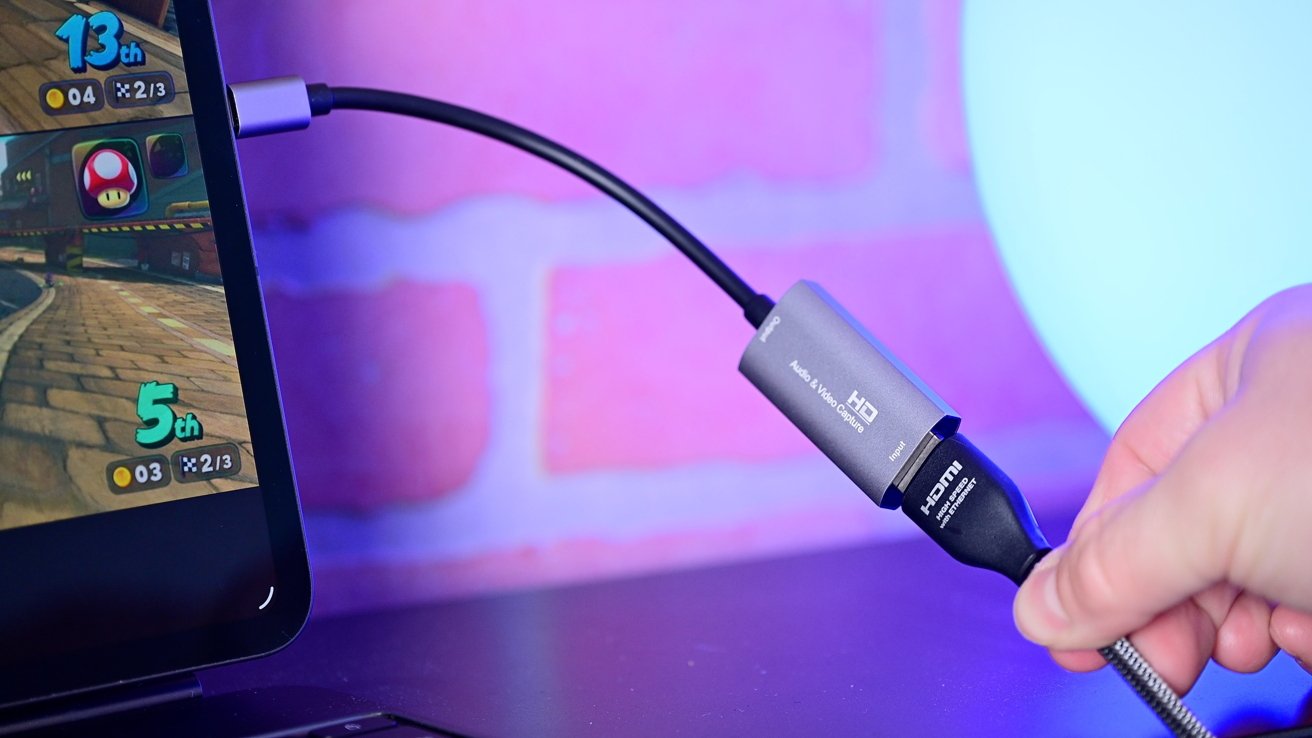
There are many, but this is an HDMI to USB-C adapter for connecting to an iPad Pro
These adapters usually run under $20, like the one we used to connect our PS5 to an iPad Pro.
- HDMI cable
- HDMI to USB-C adapter
- Energy source
It’s not like you take it with you because you need a dock, but it’s the fastest, cheapest, and easiest way to go.
Option 2: The second option is more portable but requires an additional purchase. The goal is to find a smaller replacement for the original dock.
The problem is that Nintendo limits what the USB-C ports are capable of. Almost all original adapters for Switch 1 do not work with Switch 2.
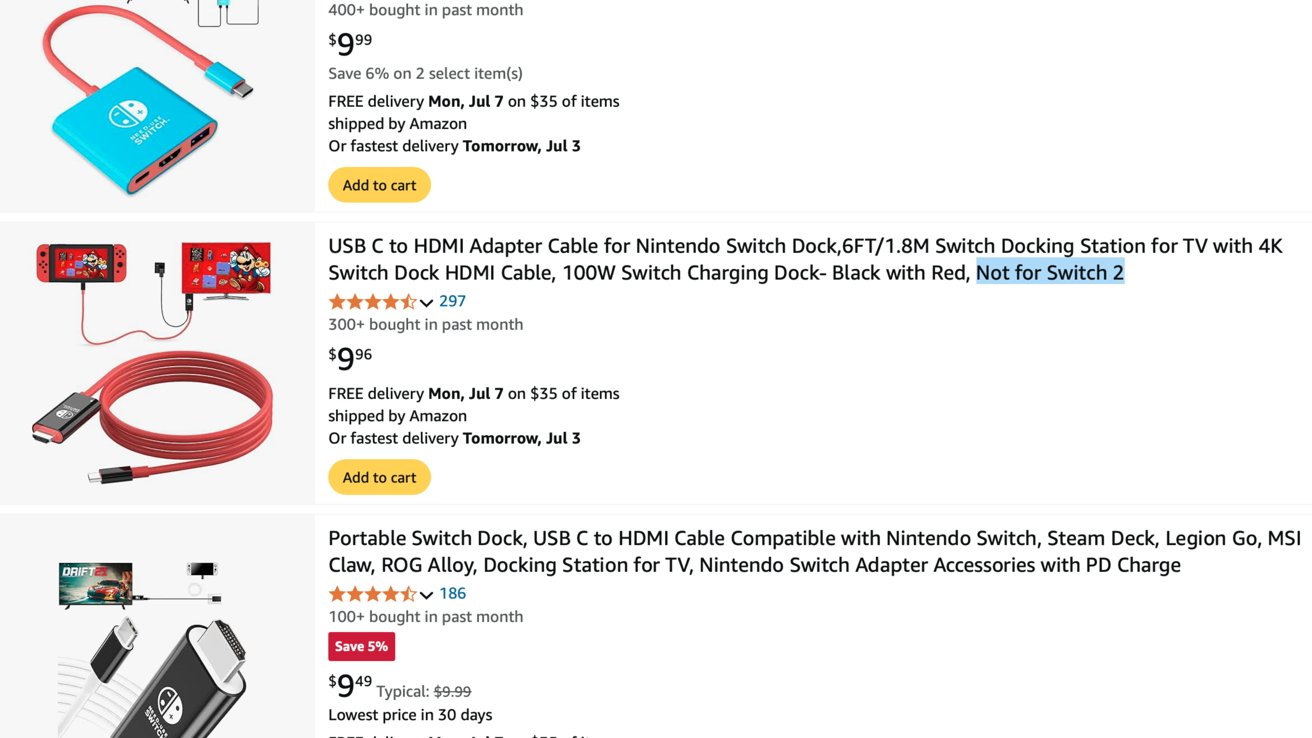
Various virtual docks and adapters already on the market do not work with the new Switch 2
Amazon sellers must label their products as “Not for Switch 2” directly in the title to avoid confusion. So far, GameStop has announced a new video output adapter, although it’s not currently available.
Once it’s available, you’ll need:
- Video output adapter
- HDMI cable
- The aforementioned HDMI to USB-C adapter
- Energy source
The Orion app lets you use your iPad as a monitor for video inputs such as cameras or consoles
Finally, for both setups you need an iPad app to handle the incoming video stream. For us, the best choice is the Orion app.
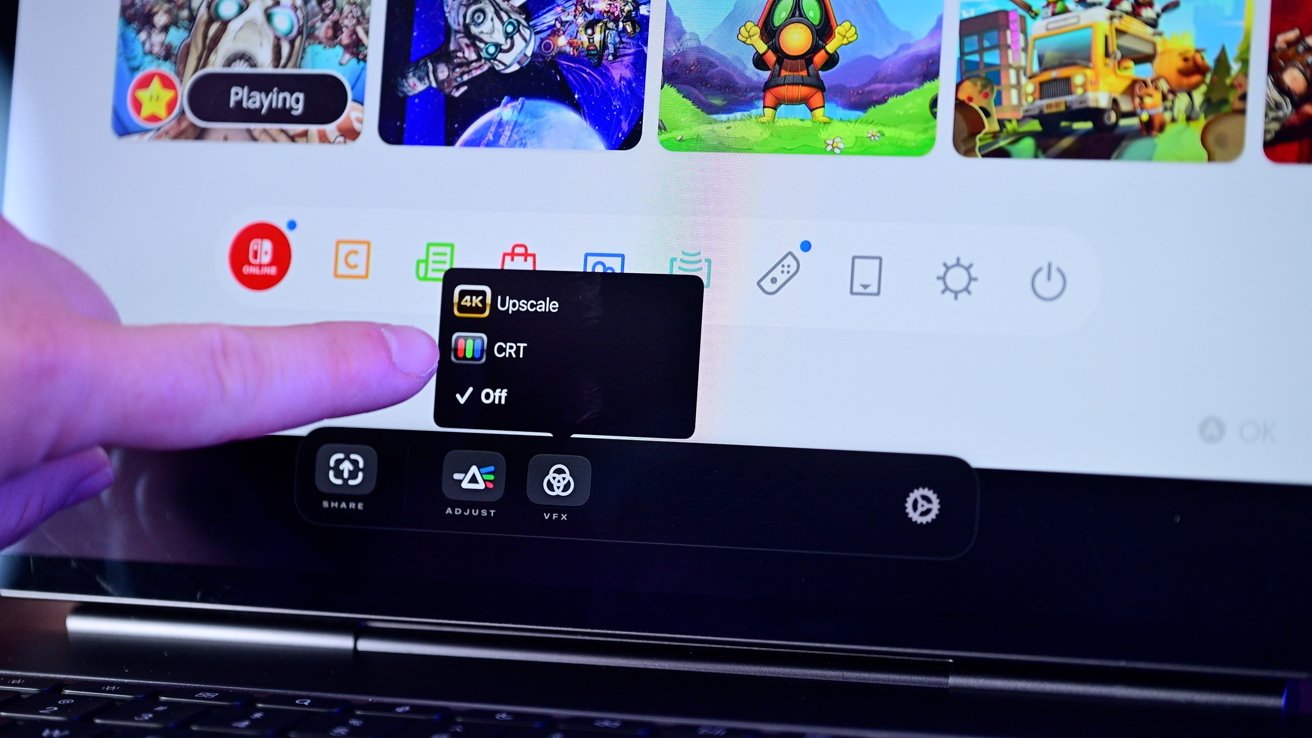
Pro features for Orion include retro filters, AI 4K upscaling and more
This app is free to download and use. There is an optional in-app purchase that unlocks 4K AI upscaling, video editing and retro filters.
How it works
Once you have gathered all the necessary accessories and adapters, all that remains is to connect everything. Put all the pieces together and things should work without any tinkering.
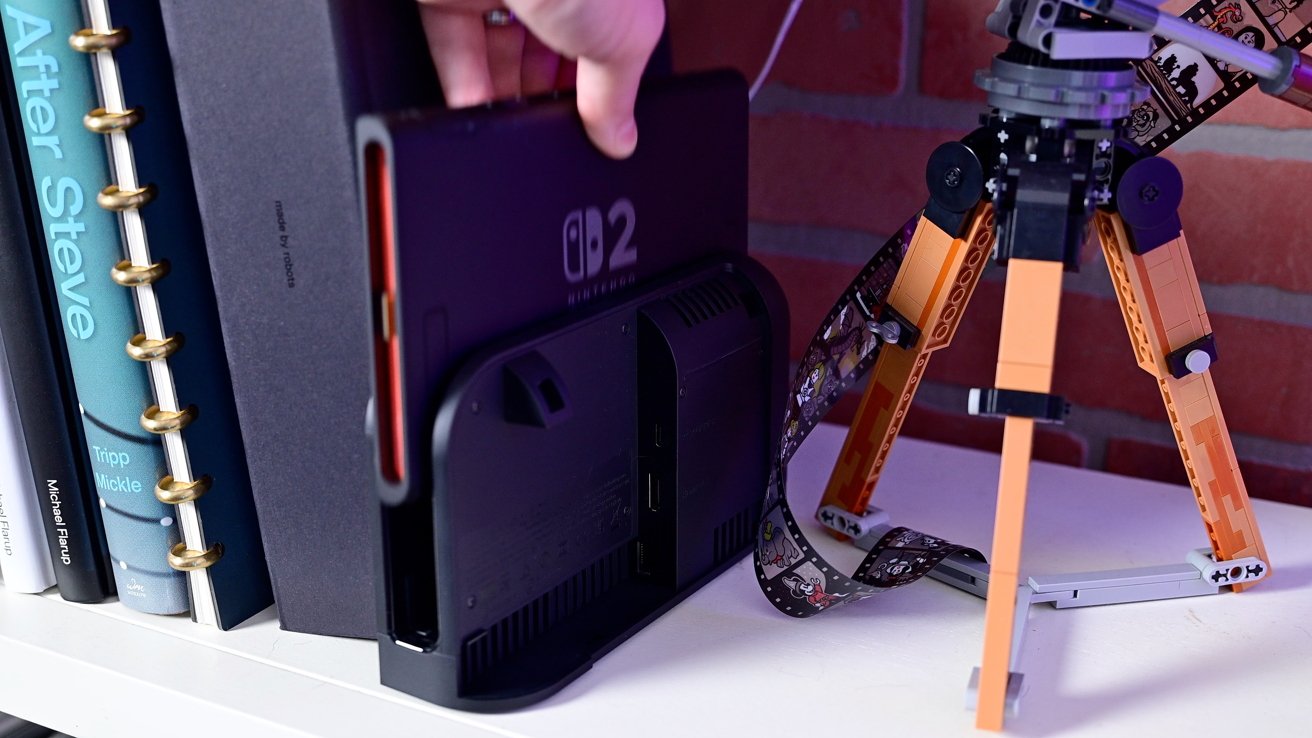
Placing the Switch 2 in its dock
Since there don’t seem to be any replacement docks available, we tested it with the official dock and HDMI to USB-C adapter. We also used it with our 13-inch iPad Pro.
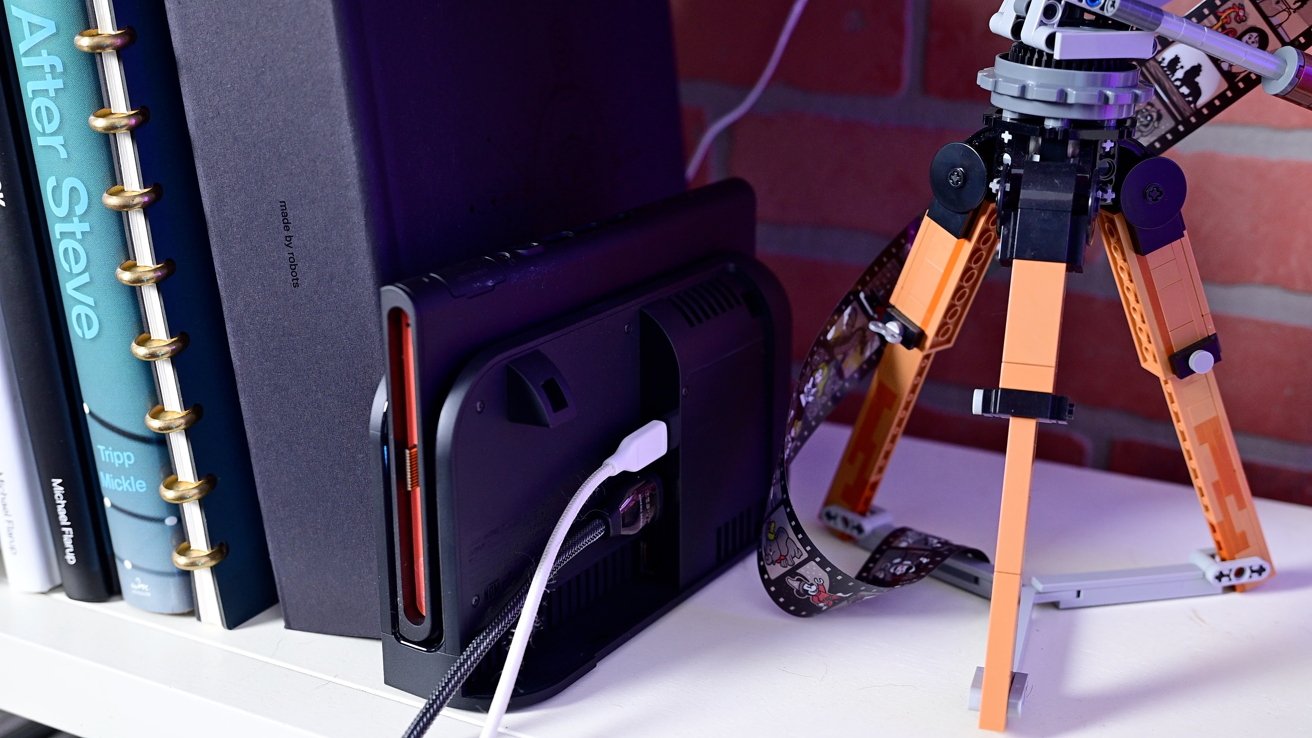
You also need to connect the power supply along with the HDMI output
We put the Switch 2 into the dock, connected the power supply and HDMI cable, then connected the HDMI cable to the adapter before plugging it into our tablet. We then launched the Orion app and were greeted with the Switch welcome screen.
There was no lag in the game, the colors and picture looked great and it was a solid solution to give us a bigger screen without a TV.
In the future, this will be improved with new cables or adapters tailored for the new Switch 2. Until then, this is an easy way to get started right away.
Cons of Switch 2 Joy — Do they pair with Apple devices?
As a bonus, we wanted to test whether the new Nintendo Switch 2 Joy-cons would pair with any Apple products – iPhone, iPad, Mac or Apple TV. This is the case with other major consoles such as the Xbox or PlayStation DualSense controllers.
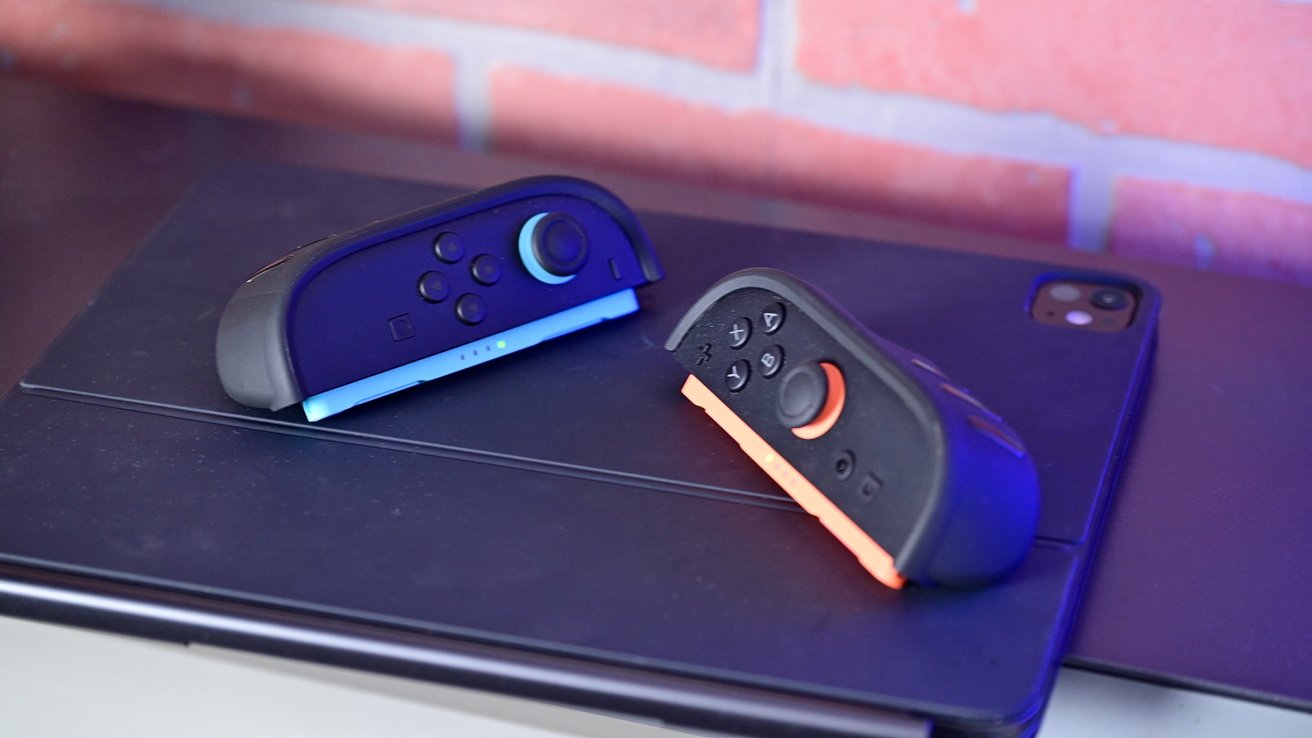
A pair of Joy-cons that only work with the Switch 2
Unfortunately, this is not yet possible. Controllers are not recognized when switching to pairing mode. This was also the case with previous Joy-cons.
Both Sony and Microsoft have worked with Apple to get their controllers MFi certified, and Nintendo doesn’t seem interested in doing that with their controllers at this point.
Hopefully Nintendo will change course and allow this in the future.